🚀 Project Overview
In this project, I set up a seamless automated receipt printing system for Spice Venue, a restaurant with online WooCommerce orders. When a customer places a “Local Pickup” order, a physical receipt prints instantly in the restaurant kitchen — without any manual steps or dependency on a laptop.
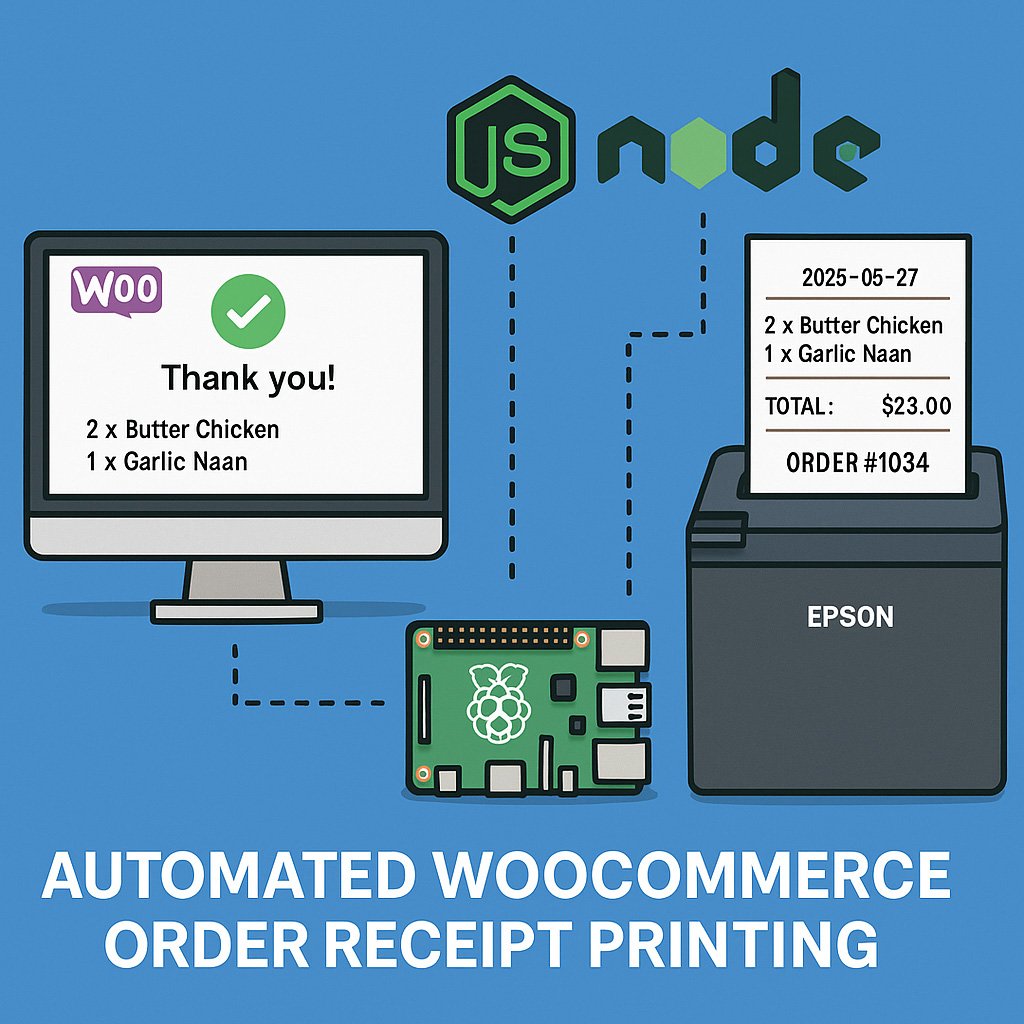
⚙️ System Architecture
- Frontend: WooCommerce (WordPress, PHP)
- Backend Server: Node.js (Raspberry Pi)
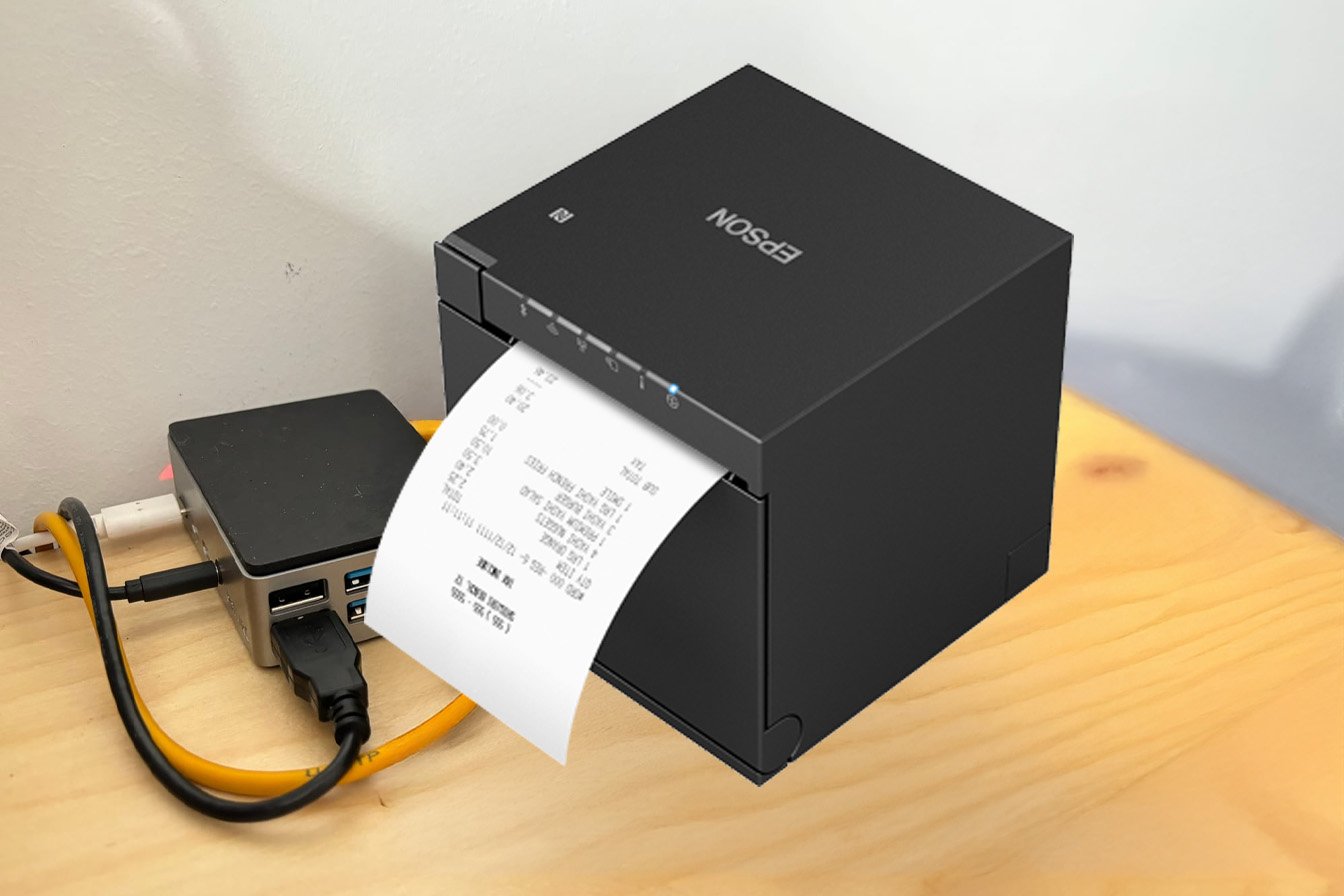
- Printer: Epson TM-m30III with RAW printing (Port 9100)
- Network Bridge: ngrok (for public HTTPS tunnel)
- Process Manager: PM2 (for running the server persistently)
- Hardware: Raspberry Pi (with static IP)
🛠️ Tools & Technologies
| Component | Tech Used |
|---|---|
| Web Store | WordPress + WooCommerce |
| Print Logic | Node.js + Express |
| Receipt Formatter | ESC/POS via plain text |
| Print Trigger | WooCommerce functions.php |
| Print Hardware | Epson TM-m30III |
| Pi Setup | RPi OS, Static IP, PM2, ngrok |
| Hosting | Hostinger (WordPress) |
🧩 Step-by-Step Implementation
✅ PART 1: Prepare Raspberry Pi
- Flashed Raspberry Pi OS using Raspberry Pi Imager
- Connected to restaurant Wi-Fi
- Set static IP to ensure consistent communication
✅ PART 2: Install Node.js & PM2
curl -fsSL https://deb.nodesource.com/setup_18.x | sudo -E bash -
sudo apt install -y nodejs
sudo npm install -g pm2
Started our print server using PM2:
pm2 start server.js
pm2 save
pm2 startup
✅ PART 3: Build Node.js Print Server
const express = require('express');
const bodyParser = require('body-parser');
const net = require('net');

const app = express();
app.use(bodyParser.json());

app.post('/webhook', (req, res) => {
  const { id, items, total, created } = req.body;
  const receipt = `\nORDER #${id}\nDate: ${created}\n\n${items}\n-----------------------\nTOTAL: $${total}\n\nThank You!\n\n\n\n\n`;

  const printerIP = '192.168.254.136';
  const client = new net.Socket();
  client.connect(9100, printerIP, () => {
    client.write(receipt);
    client.end();
    console.log('Printed successfully.');
  });

  res.sendStatus(200);
});

app.listen(3000, () => {
  console.log('Print server listening on port 3000');
});
✅ PART 4: Connect WordPress to Raspberry Pi
Added this to functions.php:
add_action('woocommerce_thankyou', 'send_order_to_print_server', 10, 1);
function send_order_to_print_server($order_id) {
    $order = wc_get_order($order_id);
    if (!$order || $order->get_shipping_method() !== 'Local pickup') return;

    $items = '';
    foreach ($order->get_items() as $item) {
        $product = $item->get_product();
        $items .= $item->get_quantity() . ' x ' . $product->get_name() . "\n";
    }

    $data = [
        'id' => $order->get_id(),
        'items' => $items,
        'total' => $order->get_total(),
        'created' => $order->get_date_created()->date('Y-m-d H:i:s'),
    ];

    wp_remote_post('https://<your-ngrok-url>.ngrok-free.app/webhook', [
        'method'    => 'POST',
        'body'      => json_encode($data),
        'headers'   => ['Content-Type' => 'application/json'],
    ]);
}
✅ PART 5: ngrok Public Tunnel
To make the webhook publicly reachable:
ngrok http 3000
Added the ngrok URL to the WooCommerce functions.php.
Later, used PM2 to keep ngrok running persistently.
✅ PART 6: Final Touches
- Assigned static IP to both Raspberry Pi and Printer
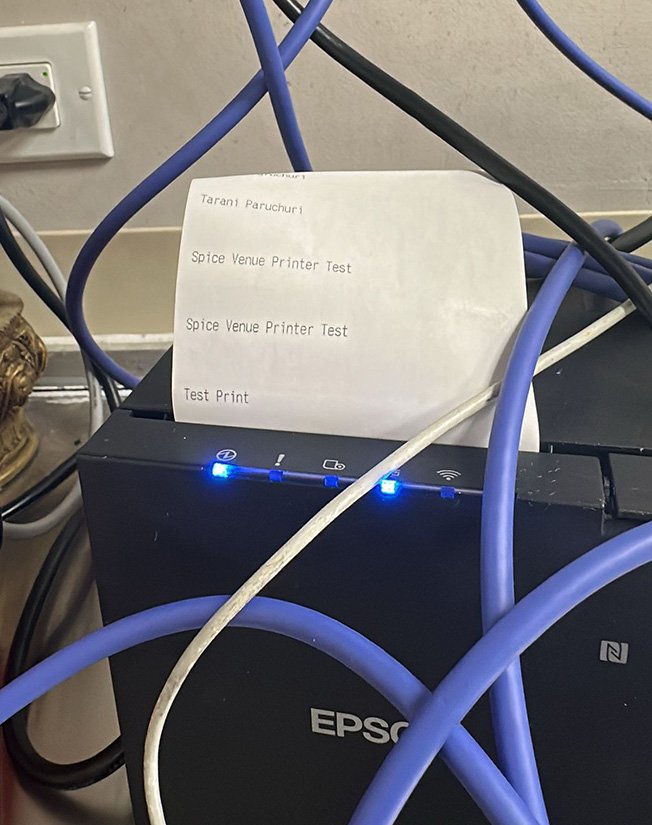
- Placed test order → Receipt printed in real-time
- Ensured that it works even when the client laptop is off
🎯 Key Challenges Faced
- Segmentation Faults during node installation → Resolved with NodeSource LTS script
- PM2 auto-shutdown issue → Fixed with
pm2 startupandpm2 save - Webhook not triggering after disconnect → Solved using static IP + persistent ngrok + PM2
📸 Live Result
- Orders placed at SpiceVenue.com
- Instantly printed at the kitchen Epson printer
- Fully offline-capable and laptop-independent
📦 What You’ll Learn From This Case Study
- How to connect hardware with cloud software using REST APIs
- How to use Raspberry Pi as a mini print server
- How to deploy Node.js apps with PM2 and ngrok
- How to trigger hardware actions from WooCommerce/WordPress
🧠 Want to Implement Something Similar?
If you’re running a restaurant, bakery, or takeaway — this system can save time, improve order management, and reduce human errors. Reach out via my contact page for help setting it up.